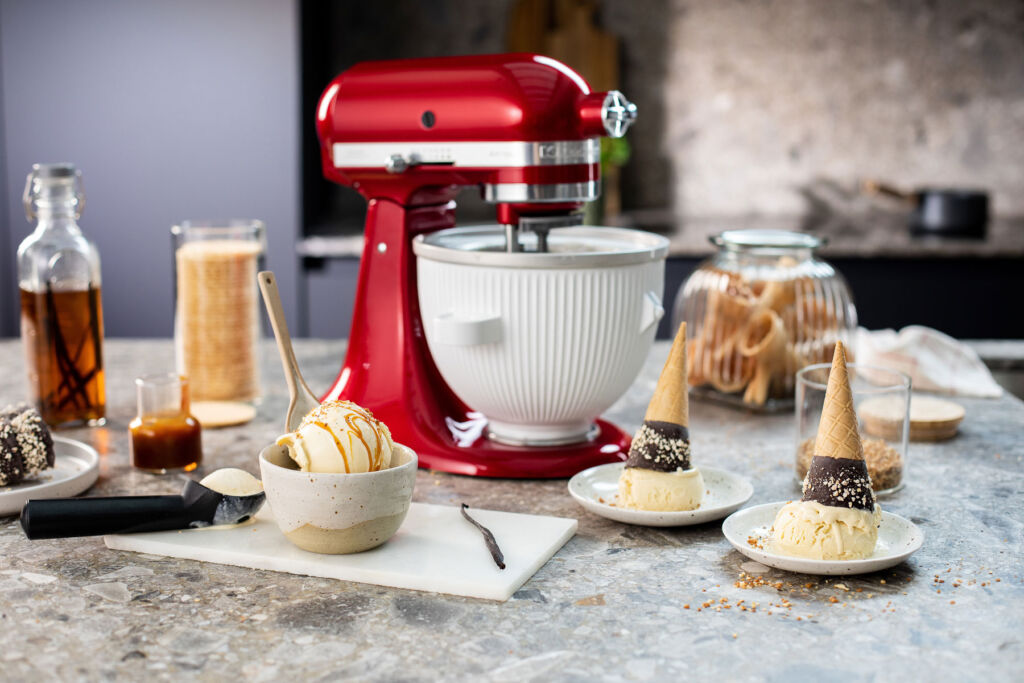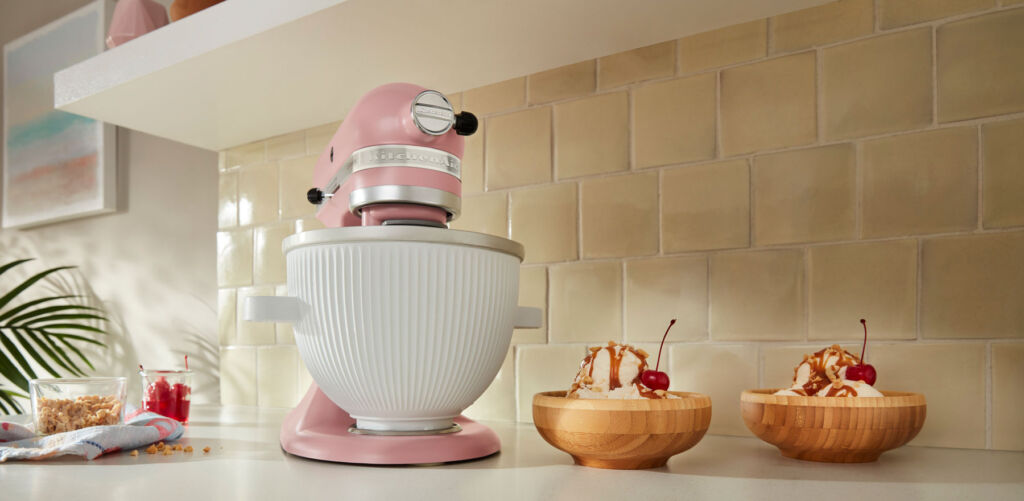
Summer is a time for get-togethers and fun, and one easy way to increase the fun factor is by bringing out the sweet treats. The only issue is that many of the sweet treats currently available are less than healthy. So why not take control by making your own delicious concoctions with KitchenAids new Ice Cream maker attachment?
First things first, and we are sure that many people will have already realised this, the new ice cream maker attachment is not a standalone kitchen tool. So, you will need to have a KitchenAid mixer in your arsenal, or better still, get a mixer and the ice cream attachment at the same time, and the delicious possibilities this summer will be endless!

When the sun is shining, and smiles and laughter are everywhere, there’s little to beat some thick and creamy homemade ice cream, particularly when it’s been made the right way, and we’ll get onto this a little later. In the meantime, let’s look at what the ice cream maker attachment set consists of.
 As I mentioned earlier, the KitchenAid Ice Cream Maker attachment needs one of the brand’s mixers, and this can be either the 4.3L or 4.8L tilt-head versions or the 6.9L bowl-lift mixer.
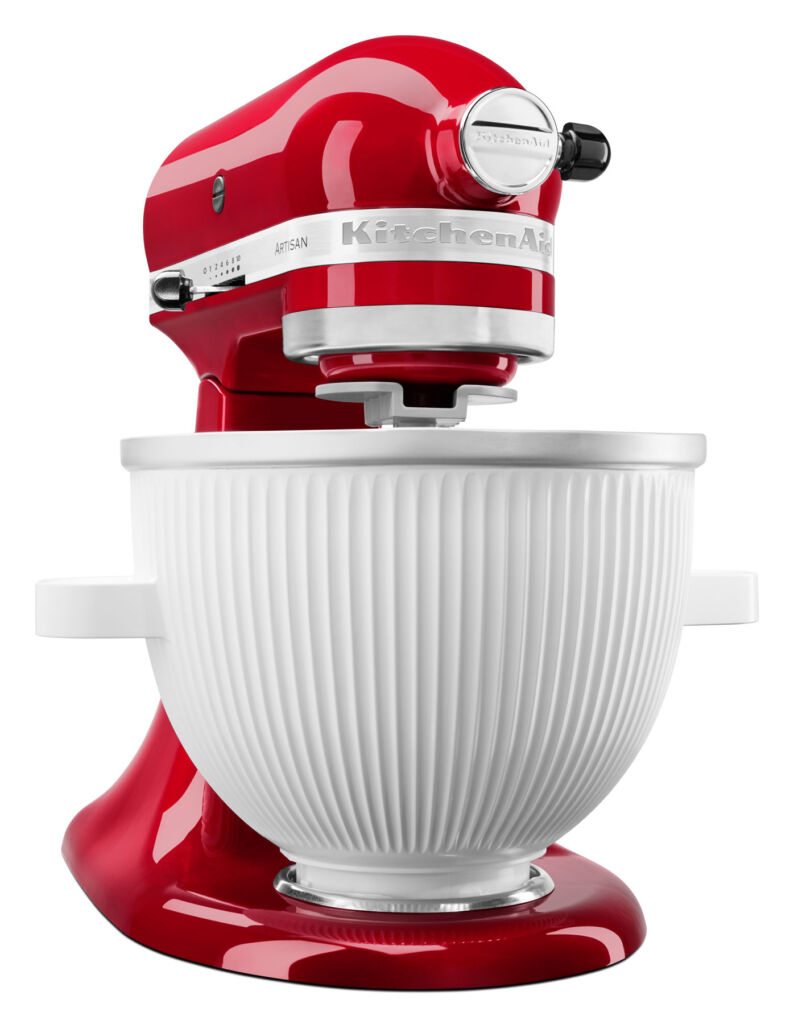
The white ridged bowl that you see in the images comes with an updated churning dasher designed to maximise mixing and avoids wastage by scraping down the sides. The bowl has a 1.9L capacity and is said to be extremely sturdy. In addition to this, it has been designed to keep contents colder for longer. Unlike other common or garden bowls, the KitchenAid version is stylish enough to bring straight to the table.
And if you’re wondering how long it takes to make a bowl of ice cream? KitchenAid states that it will take less than half an hour to churn out some thick and creamy happiness.
The ice cream attachment open’s a whole new world of tasty goodness this summer, and we want you to imagine how satisfying it will be to eat your own homemade vanilla ice cream with a topping of hot fudge or something, perhaps a little more refined such as a fragrant gelato?
How to make ice cream with the KitchenAid Ice Cream Maker Attachment:
- Put the bowl in the freezer for 16 hours
- Prepare your ingredients in readiness (up to 1.4L)
- Place the freeze bowl on the stand mixer
- Attach the drive assembly and the dasher to the bowl
- Add the ice cream mixture
- Mix for 30 minutes on speed 1
- Serve immediately or freeze in an airtight container for later

How you can make your ice even creamier
Most homemade ice cream recipes call for a combination of cream, milk, eggs, and sugar. The type of cream you choose affects how rich in flavour and creamy in texture the result will be. Pick a cream with a higher percentage of fat if you prefer a richer, creamier consistency.

The good news is you can use any combination in your ice cream maker, as long as the liquid measurement stays the same. So switch out cream for more milk if that suits you. Even skimmed milk works, but there will be a noticeable difference in texture. As we said at the start of this feature, the choice of how healthy you want the ice cream is entirely down to you, the more naughty the ingredients, in general, the tastier the end product is. Just saying …
Cleaning the attachment
Once the bowl has reached room temperature, you can wash it by hand with some warm, soapy water, dry it and pop it back into the freezer, ready for next time.
The NEW KitchenAid Ice Cream Maker Attachment has an RRP of £129 in the UK and is available from kitchenaid.co.uk.
Read more lifestyle news and features here.
![]()


You must be logged in to post a comment.