
British Olympic swimmer and two-time open water world champion Keri-Anne Payne shares her tips and tricks for open water beginners.
The experience of swimming outdoors can be world’s away from swimming in a pool. You can’t put your feet down, there’s no black line to follow, and the water temperature is likely to be much cooler than the pool at your local leisure centre.
That said, as a seasoned open water swimmer, I find nothing beats the satisfaction of jumping into a crisp lake or reservoir, and swimming freely, without anyone tapping on your feet or slowing you down. Then there’s the sense of achievement you get from looking out over where you’ve swum when you finish.
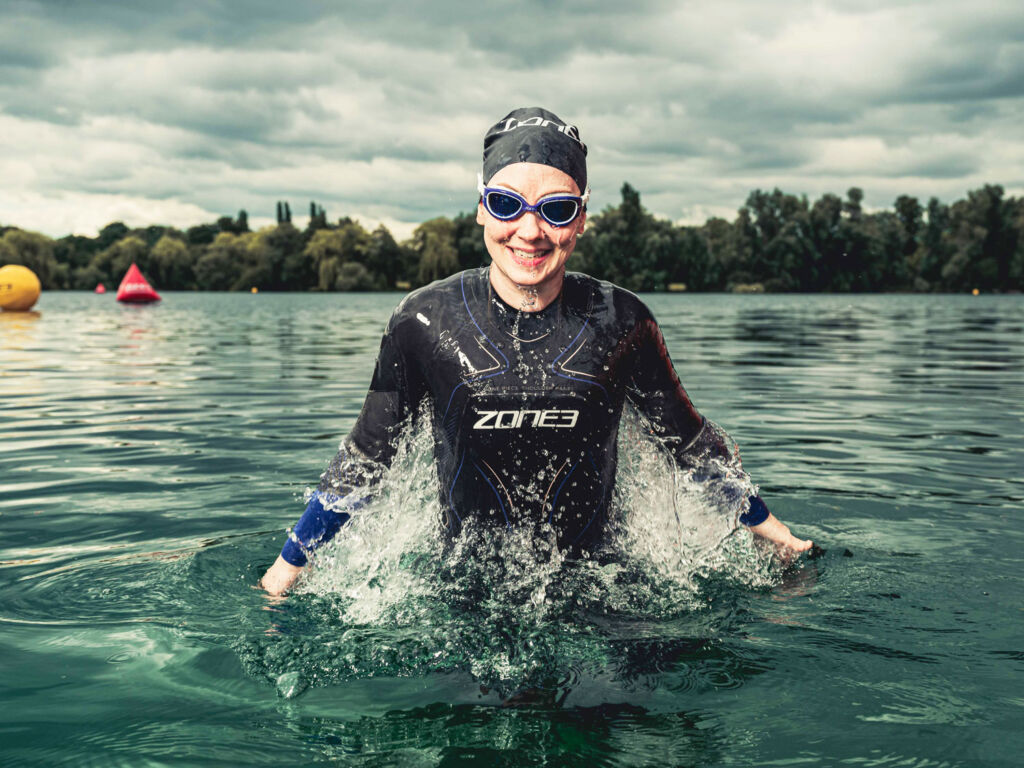
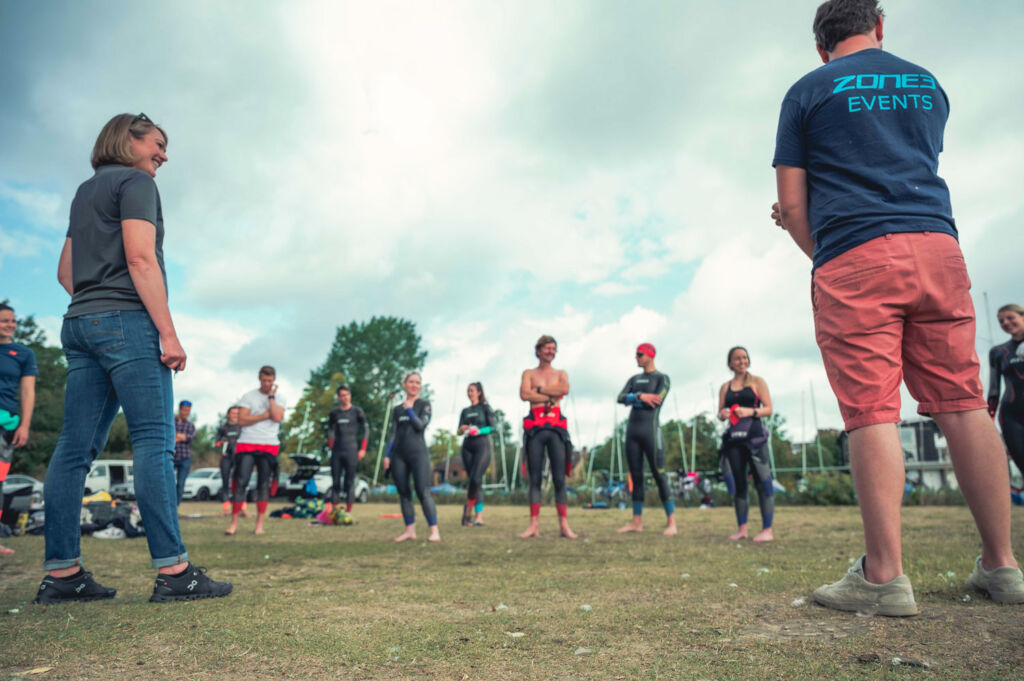
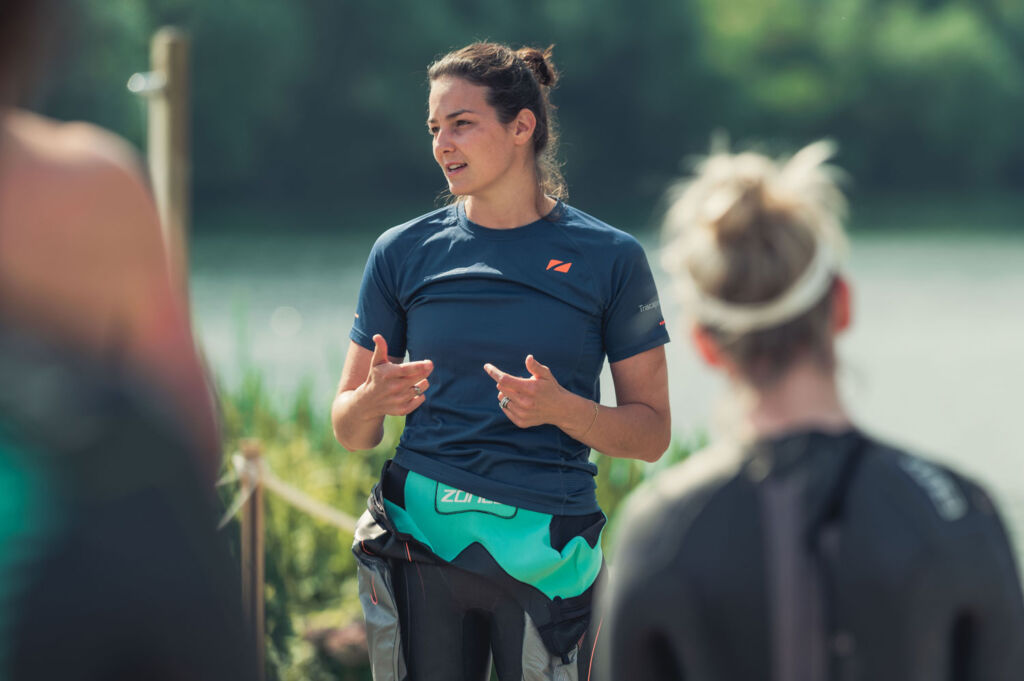
I was invited by Zone3 – who specialise in triathlon gear – to an open water swimming masterclass at Shepperton Lake with British Olympic swimmer and two-time open water world champion Keri-Anne Payne.


Zone 3 asked us to try their award-winning, restriction-free wet suits designed specifically for triathlon and open water swimming.
A coached session from Keri-Anne couldn’t have come at a better time, having just entered my first 70.3 Ironman.


So, if you’re also thinking of signing up to your first triathlon or simply want to make the most of swimming outside while the weather’s nice, read on for some expert advice.
The boring (but important) bit: It goes without saying, you should only try open water swimming if you’re confident at swimming in an indoor pool. Always swim at an official open water swimming venue – The Swim England website is the best place to find safe venues that are open near you.
Due to the pandemic, you’ll likely need to pre-book an open water swimming session a week in advance.
1. Relaxing
It’s not uncommon to have shortness of breath when entering cool water which can make you panic. What’s more, the lack of oxygen, if you’re breathing quickly, can make all sorts of illogical thoughts come into your head. Breathing slowly is the key to overcoming this.
If you start to panic in the water, stop swimming front crawl and do slow breaststroke or float on your back and take several slow, deep breaths. This will bring your heart rate down, reduce panic and any anxious thoughts you’re having, so you can get back to enjoying your swim.
It’s worth mentioning that lying on your back is a flag that you need help at some open water centres, so be sure to check your venue’s guidelines before doing this.
2. Breathing
Keri-Anne advises breathing out of your nose while your head’s in the water, as it’s much easier to control your breath, compared to breathing out through your mouth. Try to keep your breathing steady and controlled – we don’t gasp for air when we run or cycle, so we shouldn’t do it when we swim either.
Taking huge gasps of air is a one-way ticket to feeling dizzy while swimming.
3. Sighting
Sighting is an essential skill for open water swimming. It involves lifting your head slightly while swimming to see where you’re going. Technique and frequency of sighting are down to personal preference and swimming style, though a good place to start is to lift your head at the furthest point of your stroke on the opposite arm to the side you’re breathing on.
Sight just before you breathe to the side, and you’ll be making minimal movements and using the least amount of energy for your sight. It sounds simple; however, it can take a long time to master sighting and remaining efficient in the water, so give it lots of practice and try it in an indoor pool first.
4. Head position
It’s surprising how many swimmers – even the pros – were taught to swim looking forward. According to Keri-Anne, the best and most streamlined way to swim is to look down when your heads in the water. Tilting your head up to see where you’re going will cause your hips and legs to sink, and you could end up with a nasty sore where your cap has rubbed against your wet suit.
It’ll probably feel unsettling to swim without seeing where you’re going, but this head and body position will help you glide through the water quicker, and, as Keri-Anne reminded us, you can’t see anything in the water when you’re swimming outdoors anyway.
5. Cornering buoys
The quickest and most efficient way to navigate a buoy is by a manoeuvre that Keri-Anne calls the “superman” turn. As you approach a buoy, use the arm that’s closest to the buoy to help you navigate around it, keeping it straight. Then use your other arm to do one-armed strokes to get you around the buoy. This can be used at any angle of turn and will help you save your energy for swimming.
6. Swimming straight
It’s surprisingly hard to swim in a straight line in open water, especially if there’s a tide. If you’re not sighting regularly, before you know it you could be veering off towards the edge of a lake. Unless you’re one of the rare few, most of us naturally swim to the left or the right, and it’s usually influenced by which side you breathe on most when you swim.
You’ll need to correct your position every eight strokes or so, to make sure you’re heading towards the next buoy. To find out which direction you naturally swim, visit a venue at a quieter time and swim from one buoy to another (one that’s relatively close) without sighting or looking where you’re going. If you’ve veered off to the right of the buoy, you know you need to correct so steer yourself left a bit, and vice versa.
7. Your wetsuit
A top tip from Keri-Anne is to let some water into the top of your wet suit upon first entering the water. It’ll be cold at first but priming the body’s sensitive parts – particularly the chest – for the cooler water temperature is definitely better than having a cold water shock halfway around the lake. Plus, that layer of water inside your suit will act as an extra layer of warmth.
8. Practice, practice, practice
Getting accustomed to new technique takes time, so keep practising, even if your only opportunity in a pool. Try to focus on only practicing one or two skills at a time, such as sighting or breathing out through your nose. Don’t try to master everything at once.
Photography by James D Poole.
Read more health and fitness articles and guides in our dedicated section here.
